- Honeycrisp
Theme
Below you will find comprehensive installation and set up instructions for this theme. If after following this guide, you run into any technical issues, please feel free to contact support.

Theme Installation
Before You Start
Again, I strongly recommend using Honeycrisp with a fresh WordPress installation. If you are opting to install this theme on a current website, start by making sure WordPress is up-to-date and all your plugins are updated. You should also create a backup of your site before installing a new theme.
Otherwise, if you’re starting with a blank slate, here’s what to do!
1. Install Kadence Theme
On your WordPress dashboard, navigate to Appearance → Themes then click Add New Theme. Search for Kadence by Kadence WP. When you find the Kadence theme, click Install, then click Activate. Congrats! Your site is now running the Kadence theme.
Kadence is a free theme framework for WordPress sites that allows you to build and customize the whole site with no code required. The Honeycrisp theme is a child theme of Kadence, which builds upon the basic Kadence theme functionality. So you must install Kadence first in order for Honeycrisp to work.
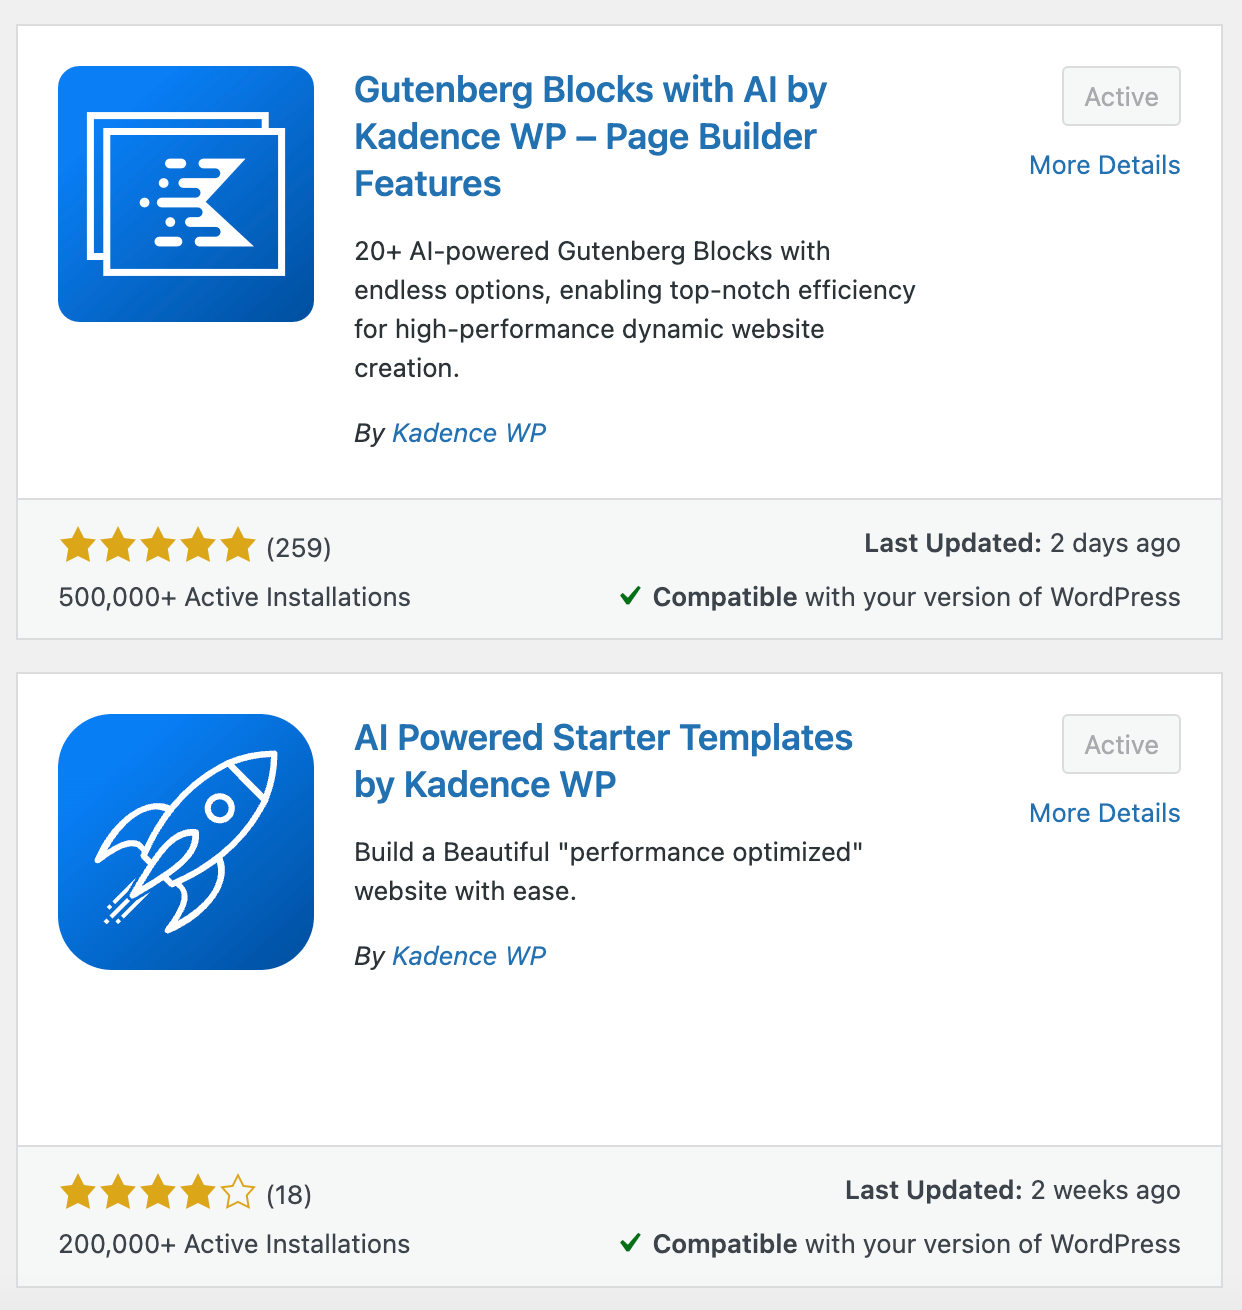
2. Install Required Plugins
In order for the Honeycrisp theme to work, we need to install a couple plugins. From your WordPress dashboard navigate to Plugins, then search for the Kadence Blocks plugin as well as the Starter Templates for Kadence WP plugin. Install and activate both.
3. Update permalink settings
From the WordPress dashboard, navigate to Settings → Permalinks and click on Post names. This create the structure of the links on your website. Choosing Post names is optimal for SEO purposes.
IMPORTANT NOTE: if you are installing this theme on a currently existing website (not recommended) or plan to migrate content (like blog posts from your current site), you should make sure that all permalinks on your new website match up with permalinks on your old site.
Changing the permalinks or (URLs) on your website will negatively impact your website SEO if not done properly. Either use the exact same URLs for any new website pages/posts/content you create, or, use a WordPress plugin like Redirection to set up URL redirects.
For example, if a blog article on your current site has the URL: www.mywebsite.com/1/5/2022/sample-blog-post, you should NOT (for example) simply update this to www.mywebsite.com/sample-blog-post without giving it a second thought. If you’ve put in hard work getting your website content to rank on Google, you don’t want all that hard work to go down that drain!
Learn More About Permalinks via WordPress support
Install Honeycrisp Theme
Now your site is set up to install Honeycrisp. Follow along in the video tutorial or review the written steps below.
From the Dashboard, navigate back to Appearance → Themes. This time, click Add New Theme, then Upload Theme.
Select the zipped theme file (honeycrisp-theme-for-kadence.zip), then click Install Now, then click Activate to activate the theme. Honeycrisp is now running on your site! However, if you go to look at the homepage of your site, it will be blank. This is because we haven’t imported the page templates & demo content yet.
From the Dashboard, navigate to Kadence → Starter Templates. Select Kate Zalewski Design, then select Honeycrisp. Import all the demo content onto your site.
Your site should now be an exact replica of the Honeycrisp demo site. Woohoo! Now it’s time to make Honeycrisp yours. In the next session you’ll learn the basic steps to customize a WordPress site.
Honeycrisp Setup Guide